FAQs
MiraFace - Global Dash Cam Pionner
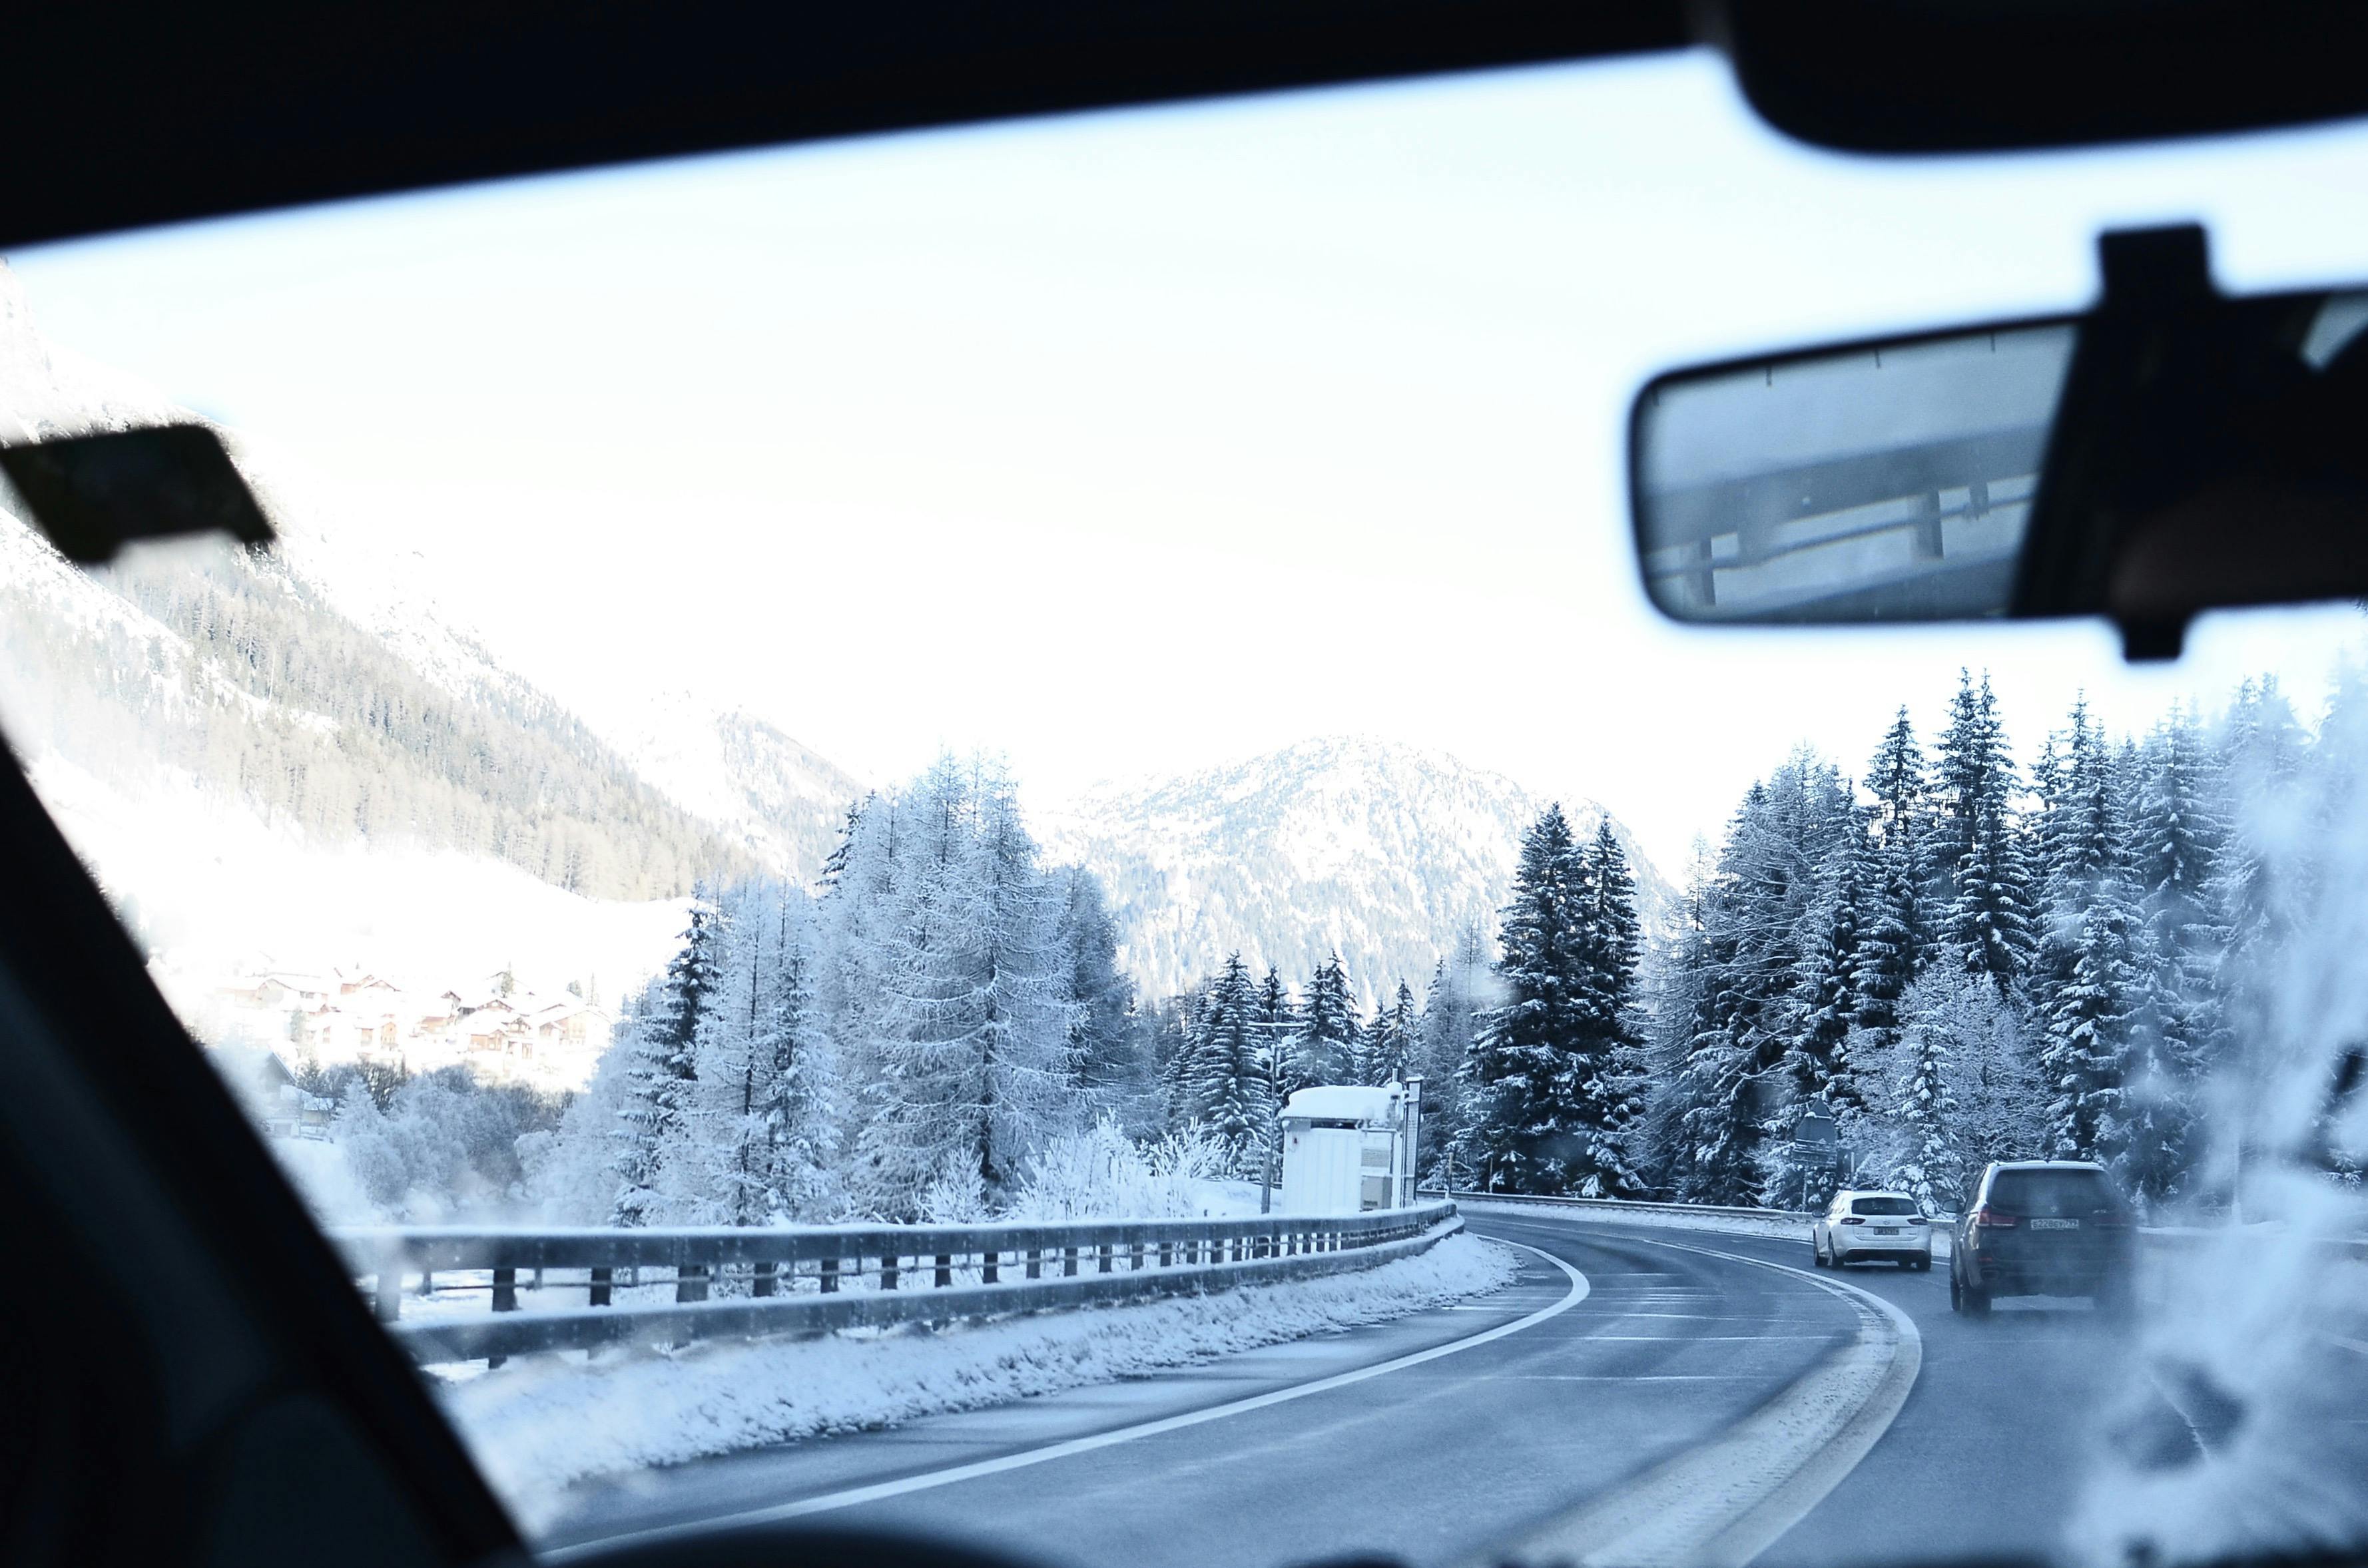
Camera Performance
In order to avoid new videos not being saved when the memory card is full and to avoid the need to manually format the memory card to delete videos frequently, the dash cam has loop-recording mode enabled by default. In this mode, the recording time of each video can be manually set to 1 min, 3 min or 5 min, and when the memory card is full, the new video will automatically overwrite the old one to realize loop-recording.
For the recording video time, you can choose one minute, three minutes or five minutes. Dash cam has a loop recording function. When the memory card is full, it will automatically delete the recorded content to provide storage space for new videos, which can solve the problem of insufficient storage space. However, if the recording time is too long, the number of stored videos will be small, and will be overwritten quickly, resulting in the loss of important videos.
With the G-sensor(gravity sensor), the dash cam will automatically record an emergency video and save it in locked file when it detects that the vehicle has been collided. The sensitivity of the G-sensor can be adjusted in the menu.
Our products support: -4°F~158°F
- MF4K K1: YES
- MF4K X2: NO
Installation and Usage
1. Insert Memory Card
- Insert the memory card into the Dash Cam until it clicks into the slot.
- Please make sure the memory card is oriented correctly
2. Front Camera Installation
- Wipe the front windshield where the front camera needs to be installed with a clean cloth.
- Peel off the 3M adhesive sticker of the front camera and attach it to the front windshield.
3. Rear Camera Installation (MF4K K1)
- Open the trunk of the vehicle, remove the screws, remove the plastic panel.
- Pry open the license plate light and pass the rear camera cable through the hole where the license plate light is located.
3. Rear Camera Installation (MF4K X2)
- Wipe the rear windshield where the rear camera needs to be installed with a clean cloth.
- Peel off the 3M adhesive sticker of the rear camera and attach it to the rear windshield.
4. Wire Layout In The Vehicle
- Connect the car charger to the cigar socket.
- Connect the other end of the car charger to the dash cam.
- Use the crowbar to run the power cable along the front windshield and the roof, and hide the cable down the A-pillar, so as not to block the driver's sight and cause danger.
- Connect the rear camera cable to the port on the dash cam.
- Hide the rear cam cable along the gaps between the front windshield and the ceiling, between the car body and the ceiling on the side of the passenger seat, and between the rear seats and the ceiling.
- Make sure you have completed the installation and connected the car charger or other power source.
- After the dash cam is turned on, you will hear “Please press the power button to format the memory card”.
- Follow the instructions to press the power button twice to finish formatting the memory card and the setup is complete.
- After that, as long as the engine starts, dash cam will automatically start recording. When recording, the red dot in the upper left corner of the screen will blink.
Not at all. As long as the dash cam is linked to the car charger, every time you start the engine, the dash cam will automatically turn on the recording.
As our dash cam has a loop recording function, the storage card will automatically delete the first recorded content after it is full to provide storage space for new videos, which can solve the problem of insufficient storage space. So you don't need to delete the video manually. However, we recommend that you save important videos on your computer or phone to avoid being overwritten by new videos. Note: Formatting the SD card will delete all videos.
It Does Not Work
- For safety and functionality reasons, this dash cam is designed without a built-in battery and therefore cannot be turned on without a connected car charger or other power source.
- Before powering on, please make sure that the front and rear cameras and wires are properly linked and have been connected to a car charger or other power source, otherwise the dash cam will not work properly
For safety and functionality reasons, the dash cam's built-in battery is designed to be very small, so when not linked to an external power source, the standby time is very short, and may turn off automatically after a few tens of seconds. Note that this is not a malfunction.
- Ensure you’re using the included charger/cables.
- Remove the memory card, camera cable, and car charger and reinstall them. Check if an issue was caused by the accessories.
- If the issue persists, connect the dash cam to a computer using a USB cable. If the device powers on, the issue may be caused by the car charger cable. If it does not power on while connected, there may be an issue with the dash cam itself.
- If it is not resolved, please contact our dedicated customer service for a replacement.
- Make sure the dash cam is on(connected to a car charger or other power source).
- Turn your phone's Wi-Fi feature off and back on, then do a few more refreshes.
- Try Roadcam or DVRunning2 apps. You can download them directly from the Apple Store or Google Play
Shipment and Support
We ship to North America, Europe, UK, Australia.
We have local warehouses in these area so that we can deliver the goods to you as soon as possible.
All deliveries are free with any purchase over $50.
If you are in the US, the general shipping time is 5-7 business days. If you are in other countries, usually it will be within 2 weeks.
If you still haven't received the product more than 21 days after placing the order, please send a email to us.
Support@miraface.co
Please send us an email.
support@miraface.co
We will respond to any after-sales or product use related emails within 24 hours.
We offer a 90-day risk-free money-back return guarantee and a 1-year warranty on all MiraFace dash cam products.